
How to Sign Up and Monetize Top High-Paying AI Cloud Platforms: A Step-by-Step Guide
The demand for artificial intelligence compute power has reached unprecedented heights. With tech giants and research startups competing for limited hardware, businesses and hardware owners are sitting on a goldmine. High-paying AI cloud platforms allow you to rent out idle GPU compute power or deploy high-yield AI instances for client workloads, turning raw hardware into a consistent stream of high-margin revenue.
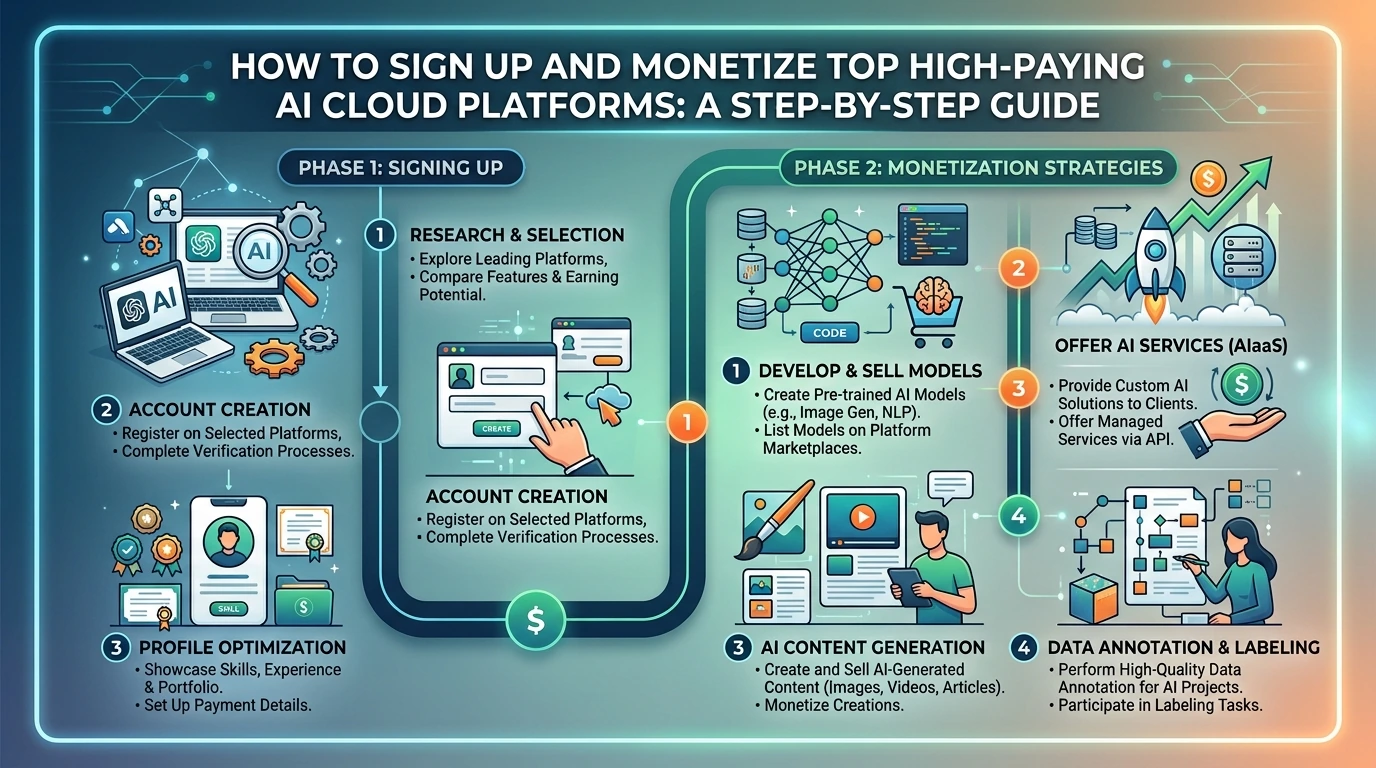
However, entering the AI compute-sharing economy is not as simple as plug-and-play. Monetizing your hardware requires navigating complex virtualization layers, establishing secure networking tunnels, and configuring host daemons to meet strict enterprise service level agreements (SLAs). This guide provides a practical, step-by-step blueprint to signing up, configuring, and maximizing your earnings on the industry's top high-paying AI cloud platforms.
The Prerequisites: Hardware and Network Checklist
Before registering on any high-paying AI cloud platform, your infrastructure must meet specific baseline requirements. Enterprise clients renting AI compute demand stability, high bandwidth, and modern architecture.
- Supported GPUs: Enterprise-grade cards (NVIDIA H100, A100, A6000, A40) or high-end consumer cards with high VRAM (NVIDIA RTX 4090, RTX 3090).
- Operating System: Linux Ubuntu 22.04 LTS or 24.04 LTS (Windows is rarely supported for high-paying host configurations).
- System Memory: Minimum 32GB RAM (ideally matching or doubling your total GPU VRAM).
- Storage: High-speed NVMe SSD with at least 500GB of free space per active GPU.
- Network Connection: Symmetrical fiber internet with at least 100 Mbps upload/download speeds (1 Gbps preferred) and a static public IP address.
Step-by-Step Guide to Hosting and Monetization
Step 1: Selecting the Right AI Cloud Platform
To maximize your yield, you must choose a platform that aligns with your hardware profile. The top high-paying platforms include:
- Vast.ai: Excellent for consumer-grade GPUs (RTX 4090/3090) with a highly competitive bid-based marketplace.
- RunPod: A premium, developer-centric platform that offers consistent high utilization rates for both secure enterprise clouds and community-run instances.
- Salad Technologies: Ideal for residential connections and consumer GPUs, utilizing idle compute for background AI workloads, rendering, and web scraping.
Step 2: Preparing the Host Environment
Cleanly install Ubuntu LTS on your machine. Avoid using virtual machines as they introduce latency and virtualization overhead that can disqualify your rig from high-paying enterprise contracts.
Open your terminal and update your system packages to the latest stable releases:
sudo apt update && sudo apt upgrade -yNext, install the proprietary NVIDIA drivers and container toolkit. This allows the platform's Docker containers to communicate directly with your graphics hardware:
sudo apt install nvidia-driver-535 nvidia-utils-535 -y
Step 3: Registering and Setting Up Your Provider Account
Navigate to your chosen platform (e.g., RunPod.io or Vast.ai) and sign up for a Host/Provider Account. This is distinct from a standard user account used for renting compute.
- Complete the identity verification (KYC) steps required for payout processing.
- Configure your payout settings. Most platforms pay out via Stripe, direct bank transfer, or stablecoins (USDT/USDC).
- Generate your unique API Host Key from the provider console. This key links your physical hardware to your digital payout wallet.
Step 4: Installing the Platform Daemon and Connecting Your Rig
Download and run the official provider daemon script. For example, on Vast.ai, you will install their CLI tool and initialize your machine using your unique API key:
pip install vast_sdk
vast login [YOUR_API_KEY]
For RunPod, you will deploy their proprietary network agent via Docker. Run the following command to pull and launch the container agent:
docker run -d --privileged --name runpod-agent-host \
  --gpus all \
  -e API_KEY=[YOUR_RUNPOD_API_KEY] \
  -v /var/run/docker.sock:/var/run/docker.sock \
  runpod/agent-host:latest
This command registers your system, benchmarks your hardware, and lists your GPUs on the global public marketplace.
Step 5: Optimizing Pricing and Security Parameters
Do not leave your pricing on default settings. Analyze the current market rates on the platform's public console and set competitive pricing based on your hardware specs and internet bandwidth.

Set a reasonable hourly rate for compute, storage, and network transfer data. Additionally, restrict container access to non-privileged users to secure your host machine from malicious rental scripts.
Common Pitfalls and Critical Mistakes to Avoid
- Inadequate Cooling: AI model training runs GPUs at 100% load for days. Ensure your server room or mining rig has sufficient airflow to prevent thermal throttling and hardware degradation.
- Unstable Network Connectivity: Dropping offline during a client's active training job will severely damage your reliability score, leading to account suspension or lower placement in search results.
- Incorrect Docker Permissions: Allowing containers to run with root access to your host filesystem can compromise your entire network. Always enforce strict container isolation.
- Mispricing Storage: Setting storage costs too low can result in clients consuming terabytes of your high-speed NVMe space for pennies, destroying your profitability.
Post-Implementation Verification Checklist
Once your rig is online, perform these verification steps to ensure you are ready to receive paying clients:
- Verify that your system status reads "Healthy" and "Listed" in your provider dashboard.
- Run a test rental container on your own machine to confirm the virtualization layer works seamlessly.
- Check that the NVIDIA System Management Interface (
nvidia-smi) registers active power draw and VRAM utilization during the test run. - Monitor your network traffic using tools like
iftopto confirm that ports are properly forwarded and data is flowing without bottlenecks. - Confirm that your payout address is verified and active within the platform's billing settings.
Post a Comment for "How to Sign Up and Monetize Top High-Paying AI Cloud Platforms: A Step-by-Step Guide"