
Demystifying Cloud Hosting: A Step-by-Step Blueprint for Beginners
Embarking on the journey into cloud hosting can feel like navigating a complex digital landscape for the uninitiated. Understanding the foundational principles and executing the initial setup correctly is paramount for any successful online presence or application deployment in 2026. This guide provides a structured approach for beginners to confidently establish their first cloud hosting environment.
Key Takeaways
- Cloud hosting offers unparalleled scalability and operational flexibility compared to traditional setups.
- Careful selection of a cloud provider and service model directly influences performance, cost, and feature availability.
- Implementing robust security configurations, including network access controls and identity management, is critical from day one.
- Continuous monitoring, cost optimization, and regular data backup strategies are essential for long-term operational success.
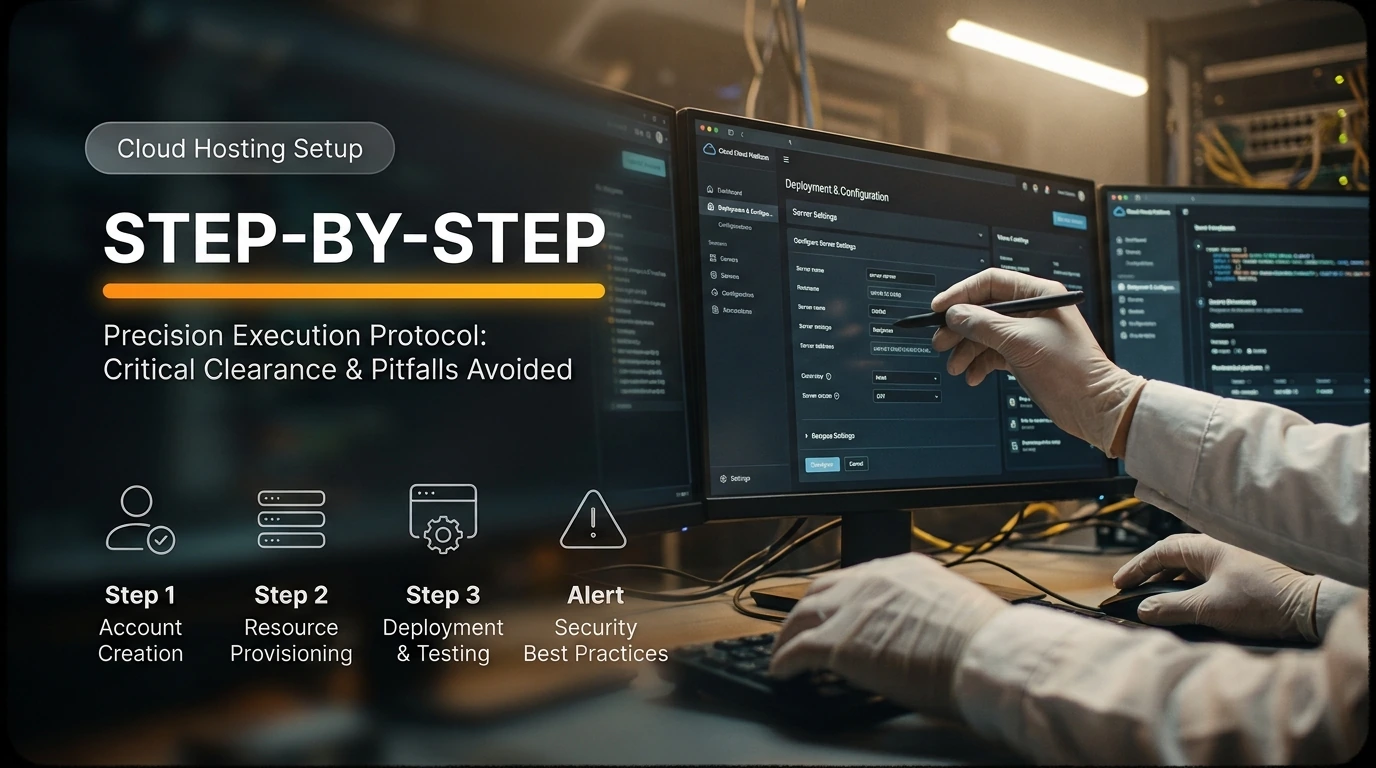
Navigating Your First Cloud Hosting Deployment
The immediate challenge for many beginners lies in deciphering the myriad of cloud services and determining which components are essential for a basic, functional setup. Without a clear roadmap, the process can become overwhelming, leading to misconfigurations or unnecessary expenditure. This section outlines the foundational requirements before diving into the procedural steps.
Essential Prerequisites and Tools:
- Cloud Provider Account: An active account with a major cloud provider such as AWS, Azure, or Google Cloud Platform. Most providers offer a free tier for initial exploration.
- Basic Networking Acumen: Familiarity with IP addresses, DNS, firewalls, and fundamental network security concepts is highly beneficial.
- Project Requirements: A clear understanding of what you intend to host (e.g., a simple website, a web application, a database) and its expected traffic load.
- Budget Allocation: Even with free tiers, understanding potential costs for exceeding limits or using premium services is crucial.
- SSH Client (for Linux instances): Tools like PuTTY (Windows) or the built-in Terminal (macOS/Linux) for secure remote access.
- Code Editor/IDE: For developing or modifying your application code.
Fundamental Steps for Initial Cloud Environment Configuration
Setting up your cloud environment involves a series of logical steps, ensuring that each component is correctly provisioned and secured. Following this sequence helps in building a robust and scalable infrastructure.
- Step 1: Selecting a Cloud Provider and Service Model
Begin by choosing a cloud provider that aligns with your technical comfort level and project needs. For beginners, providers with extensive documentation and community support are often recommended. Decide on your primary service model: Infrastructure as a Service (IaaS) for maximum control over virtual machines, Platform as a Service (PaaS) for managed environments, or Software as a Service (SaaS) if you only need to consume an application.
- Step 2: Account Setup and Initial Resource Provisioning
After creating your account, navigate to the management console. The first resource often provisioned is a virtual machine (VM) or a managed application service. Select an appropriate region (geographical location) to host your resources, considering latency and data sovereignty. Choose an instance type (CPU, RAM) and storage volume (SSD/HDD) that matches your application's requirements. For example, a basic web server might start with a t3.micro on AWS or a B1s on Azure.
- Step 3: Network Configuration and Security Group Definition
Configure your Virtual Private Cloud (VPC) or equivalent private network. This isolates your resources from the public internet by default. Crucially, define security groups (AWS/Azure) or firewall rules (GCP) to control inbound and outbound traffic. For a web server, you would typically allow HTTP (port 80) and HTTPS (port 443) traffic from anywhere (0.0.0.0/0) and SSH (port 22) from your specific IP address range for administrative access.
- Step 4: Deploying Your Application or Website
Once your VM is ready and network rules are in place, connect to it via SSH (for Linux) or Remote Desktop (for Windows). Install necessary software (e.g., web server like Nginx/Apache, database like MySQL/PostgreSQL, application runtime like Node.js/Python). Transfer your application files using SCP, SFTP, or Git. Configure your web server to serve your content.
- Step 5: Data Management and Backup Strategies
Implement a robust data backup strategy. Cloud providers offer services for automated snapshots of VMs or databases. Regularly back up critical data to a separate storage service, ideally in a different availability zone or region, to protect against data loss. Define retention policies for these backups.

Avoiding Common Deployment Pitfalls
Several critical mistakes can derail a beginner's cloud hosting efforts. Awareness and proactive measures are key to a smooth experience.
- Uncontrolled Costs: Forgetting to terminate unused resources, over-provisioning, or not monitoring usage can lead to unexpected bills. Always review your provider's pricing models carefully.
- Security Misconfigurations: Leaving ports open to the public internet unnecessarily, using weak passwords, or failing to implement proper IAM (Identity and Access Management) roles can expose your resources to attacks.
- Vendor Lock-in: While convenient, deeply integrating with proprietary services from one provider can make migration challenging later. Consider open-source alternatives where feasible.
- Inadequate Resource Sizing: Choosing an instance type too small for your application will lead to performance issues, while an oversized instance wastes money. Start small and scale up as needed.
- Ignoring High Availability: Deploying all resources in a single availability zone makes your application vulnerable to outages. For production environments, distribute resources across multiple zones.
PRO TIP: Least Privilege Principle
Always apply the principle of least privilege for all user accounts and service roles. Grant only the minimum permissions necessary for a task. This significantly reduces the attack surface and potential damage in case of a security breach.
Optimizing Small Business Infrastructure: A Hands-On Guide to Managed Cloud Hosting Deployment →
Validating Your Cloud Hosting Setup
After deploying your application, thorough verification is indispensable to confirm everything is functioning as expected and securely configured.
Post-Implementation Verification Checklist:
- Application Accessibility: Verify that your website or application is reachable via its public IP address or domain name from various locations.
- Performance Baseline: Conduct basic load tests or monitor resource utilization (CPU, RAM, network I/O) to ensure your chosen instance type can handle expected traffic without degradation.
- Security Audit: Re-check your security group/firewall rules to confirm only necessary ports are open. Review IAM policies for users and roles to ensure no excessive permissions are granted.
- Data Integrity: Test your backup and recovery procedures. Ensure you can successfully restore data from a backup.
- Cost Monitoring: Set up billing alerts and regularly review your cloud provider's cost management dashboards to track spending and identify any anomalies.
- Log Analysis: Check system and application logs for errors or unusual activity.


Post a Comment for "Demystifying Cloud Hosting: A Step-by-Step Blueprint for Beginners"