
Crafting a Data Science Powerhouse: A Component Selection Guide for Peak Performance
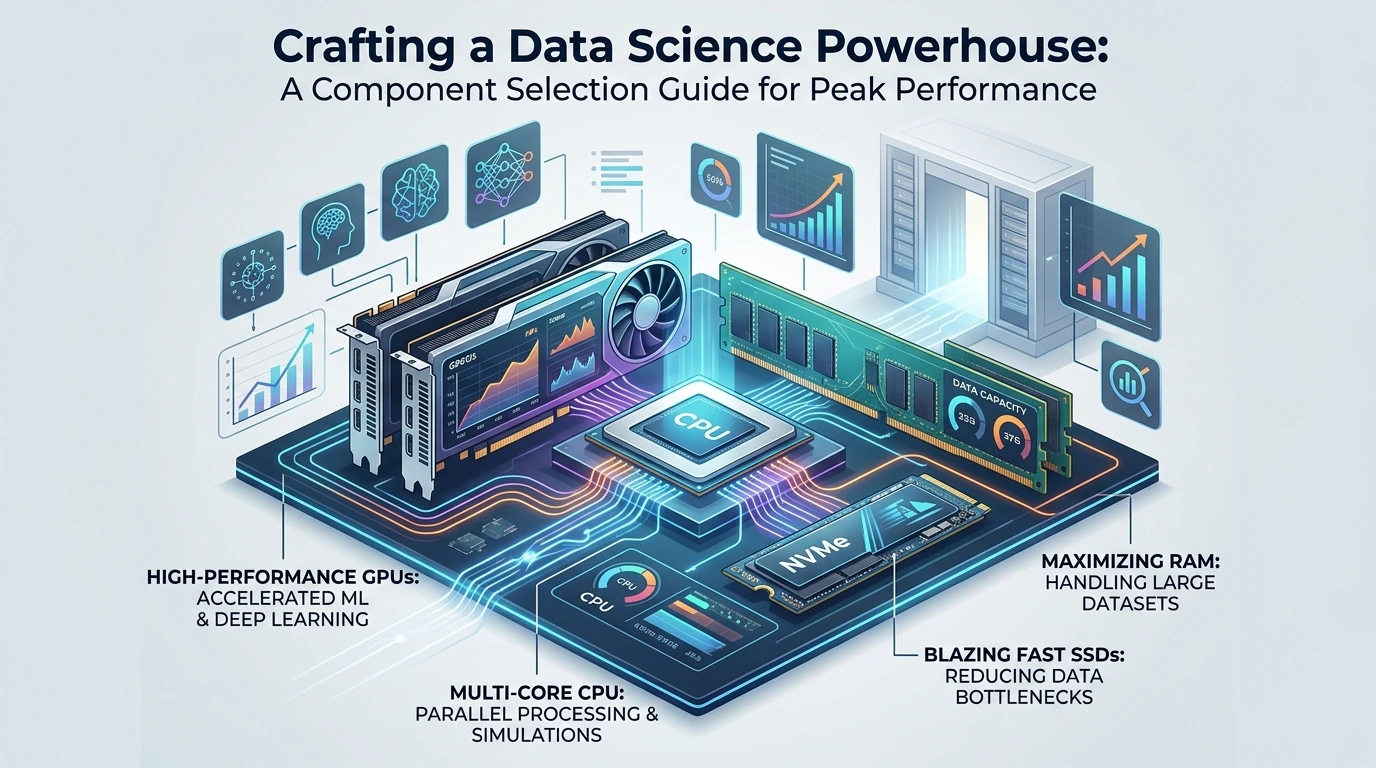
Building a workstation optimized for data science workloads isn't merely about acquiring the most expensive components; it's about strategic selection to mitigate bottlenecks and maximize computational throughput for specific tasks. Generic desktop builds often falter under the sustained, multi-threaded, and often GPU-accelerated demands of deep learning, large-scale data processing, and complex simulations. This guide provides a practical blueprint for constructing a machine that delivers verifiable performance gains for your data science endeavors.
Immediate Problem Identification & Prerequisites
Data science workloads are diverse. A model training regimen might be heavily GPU-bound, while feature engineering or large dataset manipulation could be CPU and RAM-intensive. Ignoring these distinctions leads to suboptimal performance, often manifesting as idle resources while another component struggles.
Required Prerequisites & Tools Checklist:
- Defined Workload Profile: Understand if your primary tasks are CPU-bound (e.g., data preprocessing with Pandas, traditional ML algorithms), GPU-bound (e.g., deep learning training with TensorFlow/PyTorch), or I/O-bound (e.g., loading massive datasets).
- Budget Allocation: A realistic budget is paramount. High-performance components scale exponentially in cost.
- Software Stack Knowledge: Familiarity with frameworks (e.g., CUDA requirements for NVIDIA GPUs, specific library dependencies).
- Basic Assembly Toolkit: Phillips head screwdriver, anti-static wrist strap, cable ties, thermal paste, compressed air.
- Operating System Choice: Linux distributions (Ubuntu, CentOS) are often preferred for their robust support for data science tools and lower overhead.
Chronological Step-by-Step Procedural Guide
Step 1: Assess Your Primary Computational Bottleneck
Before selecting any hardware, identify where your current workflows experience the most significant delays. For deep learning with large neural networks, the GPU is almost always the primary accelerator. For complex statistical modeling on tabular data, a high-core-count CPU with ample RAM often takes precedence. Measured benchmarks from your existing systems, or similar public benchmarks, can provide empirical data.
Step 2: CPU Selection – The Processing Core
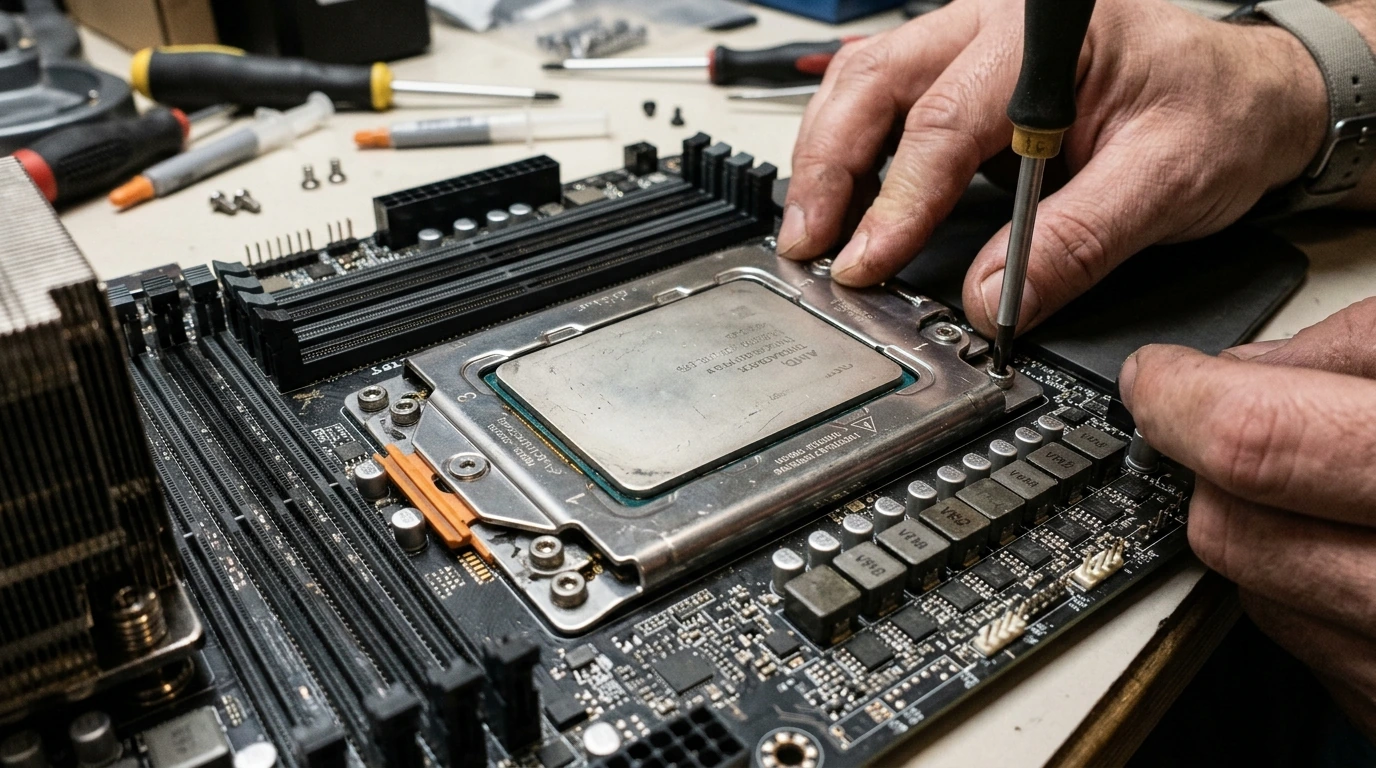
For data science, CPU choice is critical. Intel's Xeon W series and AMD's Threadripper Pro lines are workstation-grade, offering high core counts, large cache sizes, and robust PCIe lane availability. For more budget-conscious builds or lighter workloads, high-end consumer CPUs like Intel Core i9 or AMD Ryzen 9 can suffice.
- Core Count: Aim for 12+ physical cores. For highly parallelized data processing or virtualized environments, 24-64 cores (e.g., AMD Threadripper Pro 5965WX) provide substantial gains.
- Clock Speed: Sustained boost clocks above 4.5 GHz are beneficial for single-threaded tasks or compilation.
- Cache: Larger L3 cache (e.g., 64MB+) reduces latency for frequently accessed data.
- PCIe Lanes: Ensure sufficient PCIe 4.0 or 5.0 lanes (64+ recommended) for multiple GPUs and NVMe drives.
Step 3: GPU Selection – The AI Accelerator
NVIDIA GPUs, with their CUDA ecosystem, remain the de facto standard for deep learning. The choice hinges on VRAM capacity, CUDA core count, and Tensor Core capabilities.
- VRAM: This is often the most critical factor for deep learning. Large models or high-resolution image processing demand significant VRAM (24GB+ is common, 48GB+ for very large models or multiple concurrent tasks). NVIDIA RTX 4090 (24GB) offers excellent price-to-performance for many tasks, while professional cards like the RTX A6000 (48GB) or A100/H100 (80GB+) are for extreme workloads.
- CUDA Cores & Tensor Cores: More CUDA cores provide higher raw compute power. Tensor Cores accelerate matrix multiplications, crucial for deep learning inference and training.
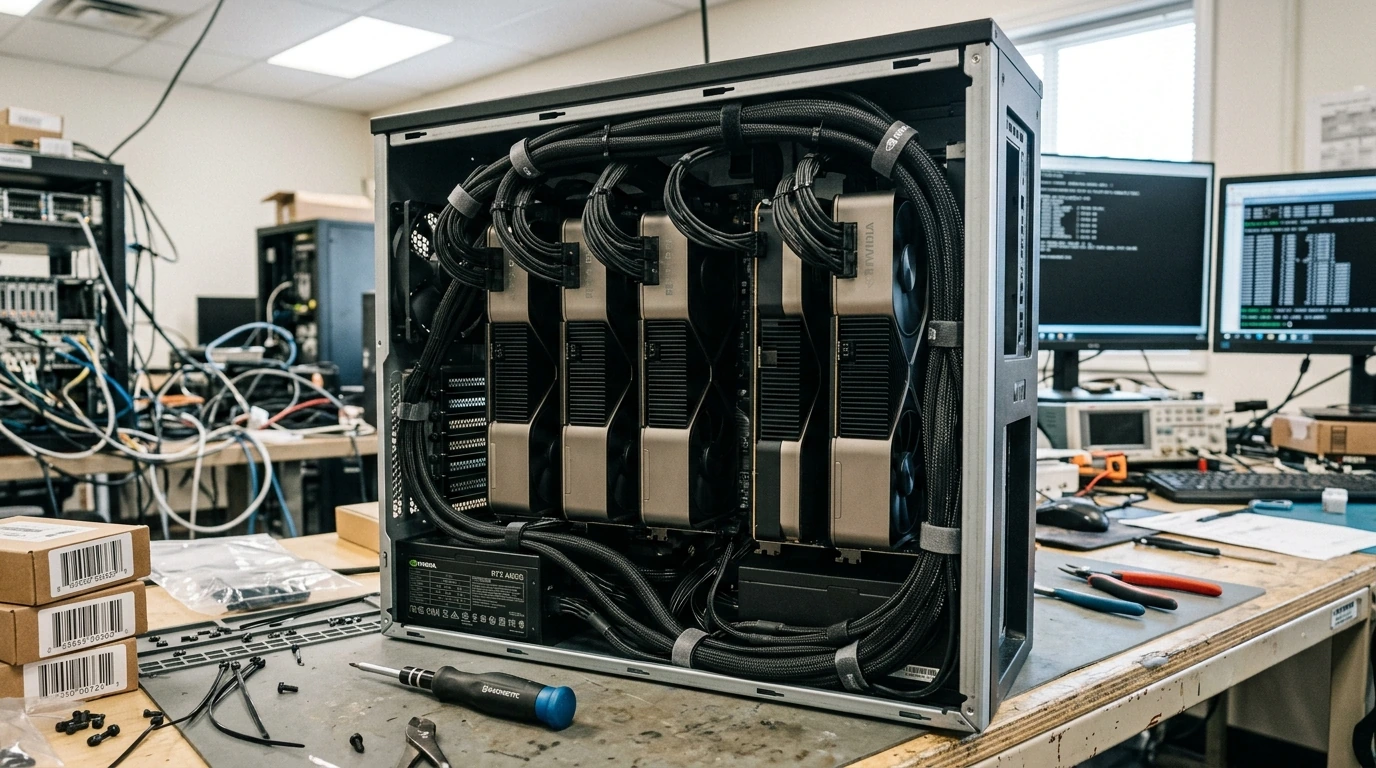
- Multi-GPU Support: If planning multiple GPUs, ensure your motherboard supports adequate PCIe slot spacing and bandwidth (x16/x16 or x16/x8/x8).
PRO TIP: VRAM is King for Deep Learning!
While CUDA core count is important, insufficient VRAM will halt your training long before you exhaust the GPU's processing power. Always prioritize VRAM capacity for deep learning tasks over slight increases in core clock speeds.
Step 4: RAM Configuration – Memory Bandwidth & Capacity
Data science often involves loading entire datasets into RAM for faster access. Insufficient RAM leads to excessive disk swapping, severely degrading performance.
- Capacity: A minimum of 64GB is recommended. For large datasets (e.g., 100GB+ CSVs, in-memory databases), 128GB or 256GB is often necessary. Workstation CPUs support up to 1TB or 2TB of RAM.
- Speed: DDR4-3200MHz or DDR5-4800MHz+ are standard. Higher speeds can offer marginal gains, but capacity and ECC are often more critical.
- ECC RAM: Error-Correcting Code (ECC) RAM detects and corrects memory errors, crucial for long-running, mission-critical computations where data integrity is paramount. Workstation CPUs (Xeon, Threadripper Pro) typically support ECC.
Step 5: Storage Solutions – Fast Data Access
Slow storage can bottleneck even the fastest CPU/GPU combination, especially when dealing with large datasets or frequent checkpointing.
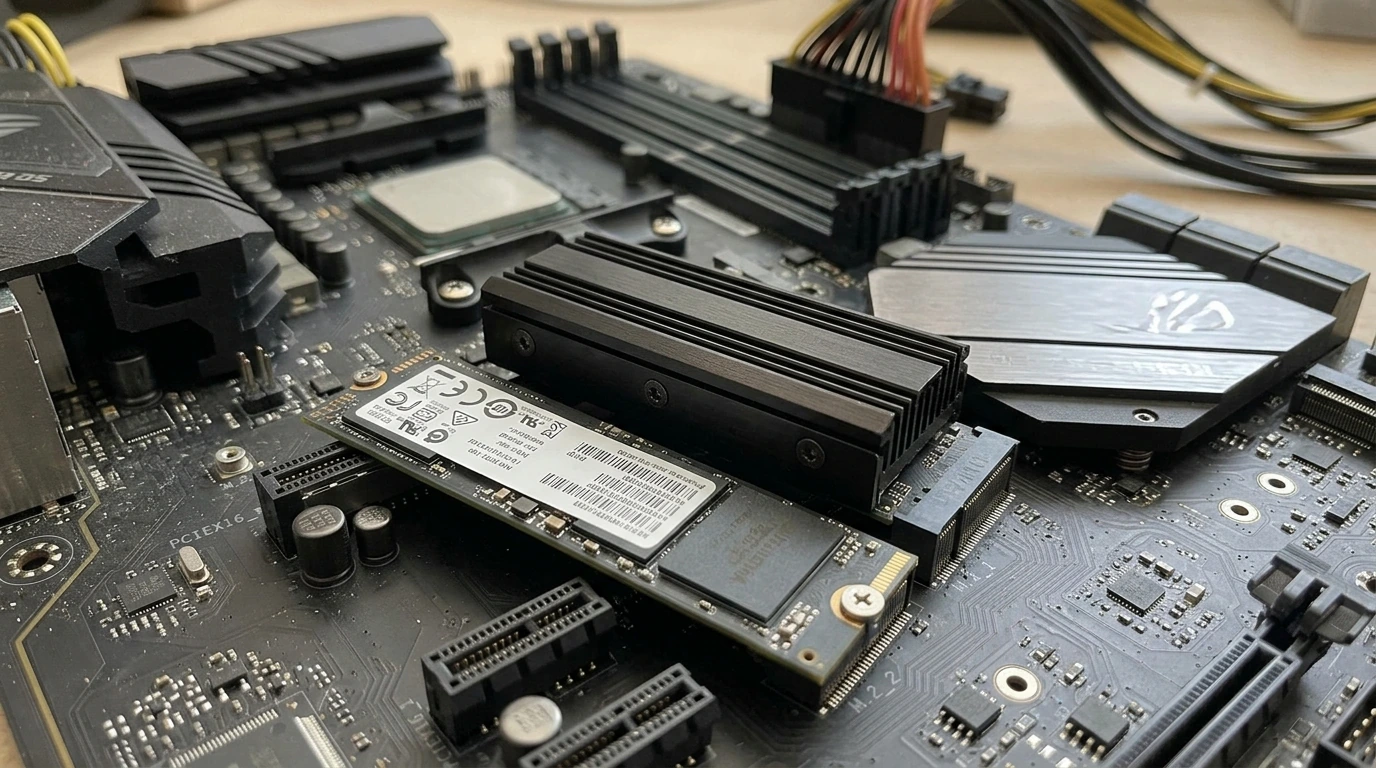
- Primary OS/Applications Drive: A 1TB NVMe PCIe 4.0 SSD (e.g., Samsung 990 Pro, WD SN850X) for the operating system and frequently used applications. Expect sequential read speeds of 7000MB/s+.
- Data Storage Drive(s): For active datasets, additional NVMe PCIe 4.0/5.0 SSDs are ideal. Consider 2-4TB drives. For archival or less frequently accessed data, larger SATA SSDs (e.g., 8TB) or even traditional HDDs in a RAID 0/1 configuration can be cost-effective.
- RAID: For critical data, consider NVMe RAID 1 for redundancy or RAID 0 for maximum speed (at the cost of redundancy).
Step 6: Motherboard & Power Supply Unit (PSU)
- Motherboard: Must be compatible with your chosen CPU socket (e.g., sTRX4 for Threadripper Pro, LGA4189 for Xeon W). Ensure it has sufficient PCIe slots (x16 lanes for GPUs), M.2 slots for NVMe drives, and RAM slots for your desired capacity. Look for robust VRM (Voltage Regulator Module) cooling.
- PSU: A high-quality, high-wattage (1000W-1600W+ for multi-GPU setups) 80 PLUS Platinum or Titanium rated PSU is essential for stability and efficiency. Calculate total component wattage and add a 20-30% buffer.
Step 7: Cooling System
High-performance components generate significant heat. Effective cooling prevents thermal throttling, ensuring sustained performance.
- CPU Cooler: High-end air coolers (e.g., Noctua NH-D15) or 280mm/360mm All-in-One (AIO) liquid coolers are typically required for workstation CPUs. Custom liquid loops offer superior performance but increase complexity.
- Chassis Airflow: Select a case with excellent airflow, accommodating multiple large fans (e.g., 140mm intake, 120mm exhaust). Negative pressure setup (more exhaust than intake) can help with heat dissipation, but balanced pressure is often preferred for dust control.
Common Pitfalls & Critical Mistakes to Avoid
- Ignoring Thermal Throttling: Under-specced cooling leads to components reducing their clock speeds under load, negating the investment in high-performance parts. Monitor CPU/GPU temperatures under stress (e.g., using HWMonitor, NVIDIA-SMI). Observed CPU core temperatures exceeding 90°C or GPU junction temperatures above 100°C under sustained load indicate inadequate cooling.
- Insufficient PSU Wattage: An undersized PSU can lead to system instability, crashes during peak load, or even component damage. A 1500W PSU might seem excessive, but with a Threadripper Pro and two RTX A6000s, it's a necessity.
- PCIe Lane Bottlenecking: Running multiple GPUs or NVMe drives on insufficient PCIe lanes can severely limit their performance. Ensure your motherboard and CPU provide enough PCIe 4.0/5.0 lanes (e.g., x16/x16 for dual GPUs, not x16/x4).
- Neglecting ECC RAM for Critical Workloads: For production data science or long-running simulations, a bit flip in non-ECC RAM can corrupt results without warning. While more expensive, ECC RAM provides crucial data integrity.
- Overspending on CPU when GPU is the Bottleneck: If 90% of your time is spent training deep learning models, investing heavily in a 64-core CPU while skimping on GPU VRAM or core count is a common, costly error.
Component Comparison: High-End Workstation CPUs (2026 Perspective)
| Feature | AMD Threadripper Pro 7995WX (Example) | Intel Xeon W9-3595X (Example) |
|---|---|---|
| Core/Thread Count | 96 Cores / 192 Threads | 56 Cores / 112 Threads |
| Max Boost Clock | 5.1 GHz | 4.8 GHz |
| L3 Cache | 384 MB | 105 MB |
| PCIe Lanes (Gen 5.0) | 128 | 112 |
| Max RAM Capacity | 2TB (8-channel DDR5 ECC) | 2TB (8-channel DDR5 ECC) |
| Typical TDP | 350W | 300W |
| Primary Use Case | Extreme multi-threaded compute, large data processing, virtualization | High-performance computing, CAD, professional applications |
Post-Implementation Verification Checklist
After assembly, rigorous testing ensures stability and performance.
- BIOS/UEFI Configuration:
- Verify all RAM is recognized and running at advertised speeds (XMP/EXPO enabled).
- Confirm NVMe drives are detected and configured correctly (e.g., RAID if applicable).
- Enable Resizable BAR (ReBAR) for NVIDIA GPUs if supported by your motherboard and GPU for potential performance gains.
- Operating System & Driver Installation:
- Install your chosen OS (e.g., Ubuntu LTS).
- Install latest chipset drivers, GPU drivers (e.g., NVIDIA CUDA Toolkit and drivers), and any necessary network/audio drivers.
- System Stability Testing:
- CPU Stress Test: Run Prime95 (Small FFTs) or Cinebench R23 (multi-core loop) for at least 30 minutes. Monitor CPU temperatures with utilities like
sensors(Linux) or HWMonitor (Windows). Expect stable temperatures below 90°C. - GPU Stress Test: Use FurMark or a demanding deep learning training loop (e.g., training a large ResNet model on ImageNet) for 30 minutes. Monitor GPU temperatures (e.g.,
nvidia-smi -q -d TEMPERATURE). Junction temperatures should ideally remain below 100°C. - RAM Test: Run MemTest86+ for at least one full pass to detect any memory errors.
- CPU Stress Test: Run Prime95 (Small FFTs) or Cinebench R23 (multi-core loop) for at least 30 minutes. Monitor CPU temperatures with utilities like
- Performance Benchmarking:
- Synthetic Benchmarks: Run Geekbench 6 (CPU/GPU), 3DMark (GPU), or CrystalDiskMark (storage) to establish baseline performance metrics.
- Real-World Benchmarks: Execute your typical data science workloads. Train a known model, process a large dataset, run a complex simulation. Compare execution times against previous systems or published benchmarks. For instance, a 20-epoch training run of a BERT-large model on a specific dataset should complete within a predictable time frame; deviations indicate a bottleneck.
Powering Tomorrow's AI: A Deep Dive into High-Performance Laptops for Enterprise ML →
Frequently Asked Questions (FAQ)
- Q: Is it always better to buy the latest generation components?
- A: Not necessarily. While newer generations offer performance improvements, previous generations often provide better price-to-performance ratios, especially for GPUs. Evaluate the generational leap against your budget and specific workload requirements. A high-end previous-gen GPU with more VRAM might outperform a mid-range current-gen card with less VRAM for deep learning.
- Q: Can I use consumer-grade GPUs (e.g., GeForce RTX) for professional data science?
- A: Yes, absolutely. For many researchers and practitioners, high-end GeForce RTX cards offer exceptional value, especially the RTX 4090. They provide excellent CUDA core counts and substantial VRAM. Professional Quadro/A-series cards are often preferred for certified drivers, ECC VRAM, and specific enterprise features, but come at a significant price premium.
- Q: How much RAM do I really need?
- A: The common rule of thumb is to have at least 2-4 times the size of your largest active dataset in RAM. If you frequently work with datasets that are 30GB, then 64GB of RAM is a good starting point. For in-memory databases or large-scale feature engineering, 128GB to 256GB might be required.
- Q: Should I prioritize CPU cores or clock speed?
- A: For most data science tasks involving parallel processing (e.g., data preprocessing, hyperparameter tuning, multi-threaded computations), core count is generally more beneficial. Higher clock speeds primarily benefit single-threaded tasks or applications that aren't well-optimized for parallelism. Balance is key, but lean towards more cores for heavy computational workloads.


Post a Comment for "Crafting a Data Science Powerhouse: A Component Selection Guide for Peak Performance"