
A sticky, dusty, or unresponsive keyboard can instantly ruin your productivity and compromise your device's hygiene. While mechanical switches and delicate laptop membranes require completely different cleaning approaches, restoring them to mint condition is straightforward when you use the right techniques. This guide covers safe, step-by-step methods to clean both laptop and mechanical keyboards without risking permanent hardware damage.
Key Takeaways
- Never spray liquids directly onto any keyboard; always apply cleaning agents to a microfiber cloth first.
- Laptop keys are highly fragile; avoid removing them unless absolutely necessary, as the underlying scissor clips snap easily.
- Mechanical keycaps can be soaked in warm, soapy water, but the switches underneath must remain dry.
- 70% Isopropyl alcohol is the gold standard for disinfecting because it evaporates rapidly without leaving conductive residue.
Understanding the Architecture: Laptop vs. Mechanical
Before grabbing your cleaning supplies, it is crucial to understand why a single cleaning method cannot be applied to all keyboards. The underlying technology dictates how much physical force and moisture the device can handle.
- Laptop Keyboards: These use low-profile scissor switches or butterfly mechanisms. They have a very short travel distance and rely on tiny, fragile plastic clips to hold the keycap to a flexible rubber dome. Removing these keycaps carries a high risk of snapping the clips, which often requires replacing the entire keyboard assembly.
- Mechanical Keyboards: These feature individual, self-contained mechanical switches soldered or hot-swapped onto a circuit board (PCB). The keycaps are designed to be pulled off and pushed back on repeatedly, making deep cleaning much easier and safer.
How to Clean Laptop Keyboards (The Delicate Method)
Because laptop components sit directly above sensitive internal hardware like the motherboard and battery, minimizing moisture is your top priority.
Step-by-Step Laptop Cleaning Process
- Power Down and Unplug: Shut down the laptop completely and unplug the charger. If your laptop has a removable battery, take it out.
- Invert and Shake: Open the laptop, turn it upside down, and gently tap the back of the chassis. This allows loose crumbs and dust to fall out.
- Use Compressed Air: Hold the laptop at a 75-degree angle. Spray the compressed air in short bursts, moving left to right across the rows. Note: Keep the can upright to prevent liquid propellant from spraying onto the keys.
- Wipe with Isopropyl Alcohol: Lightly dampen a microfiber cloth with 70% isopropyl alcohol. It should feel damp, not dripping wet. Gently wipe down the surfaces of the keycaps to remove finger oils and grime.
- Detail with Cotton Swabs: For the narrow gaps between the keys, dip a cotton swab in isopropyl alcohol, squeeze out any excess liquid, and run it along the edges of the keys.
Scenario 1: The Greasy Workday Laptop
Imagine a laptop used daily in a home office, covered in finger oils and dust. To clean this without damaging the delicate scissor switches, avoid all liquid soaps or water. Instead, use a dry, high-density melamine foam sponge (magic eraser) rubbed very gently across the keys. This lifts away stubborn skin oils and matte-finish wear marks without introducing any moisture to the system.
How to Clean Mechanical Keyboards (The Deep Clean)
Mechanical keyboards are built for durability, allowing for a much more thorough, deep-cleaning process. However, you must still protect the electrical switches and the PCB underneath.
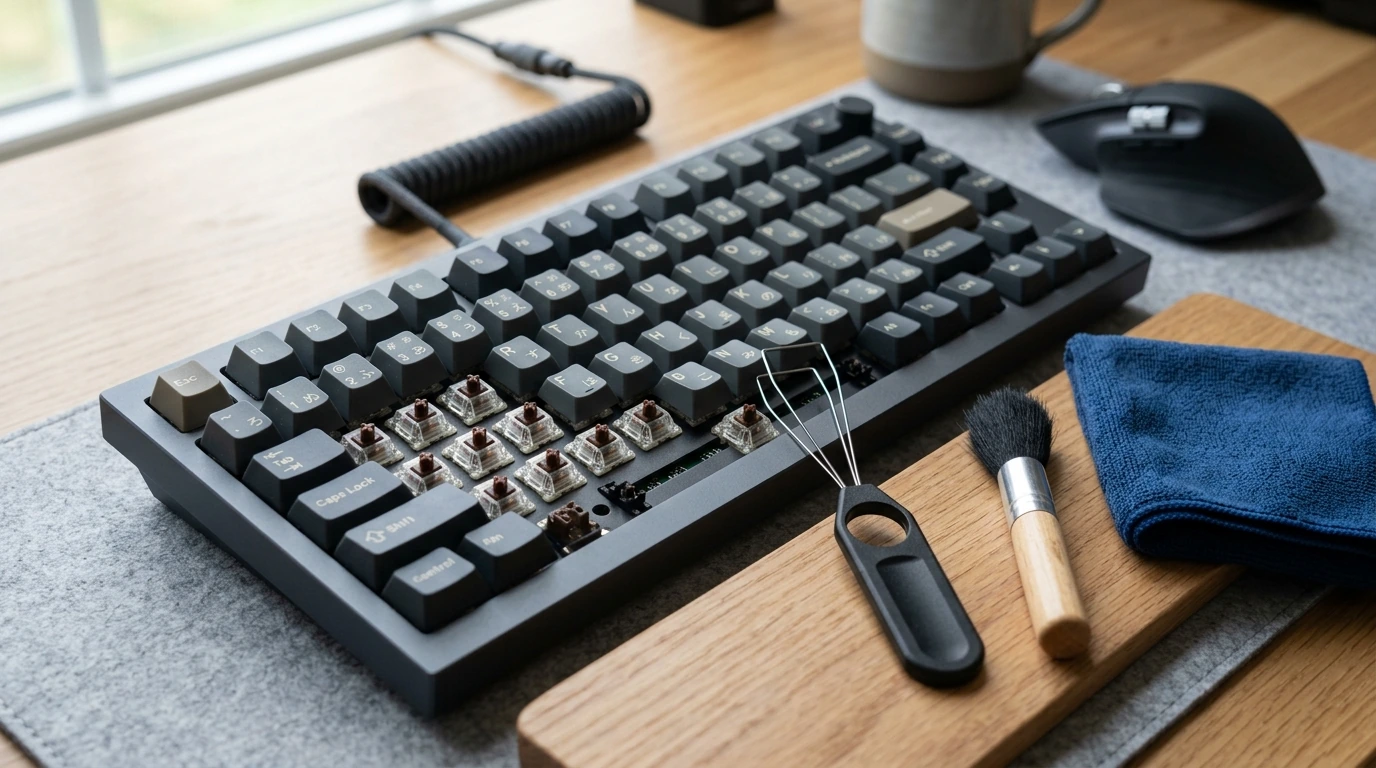
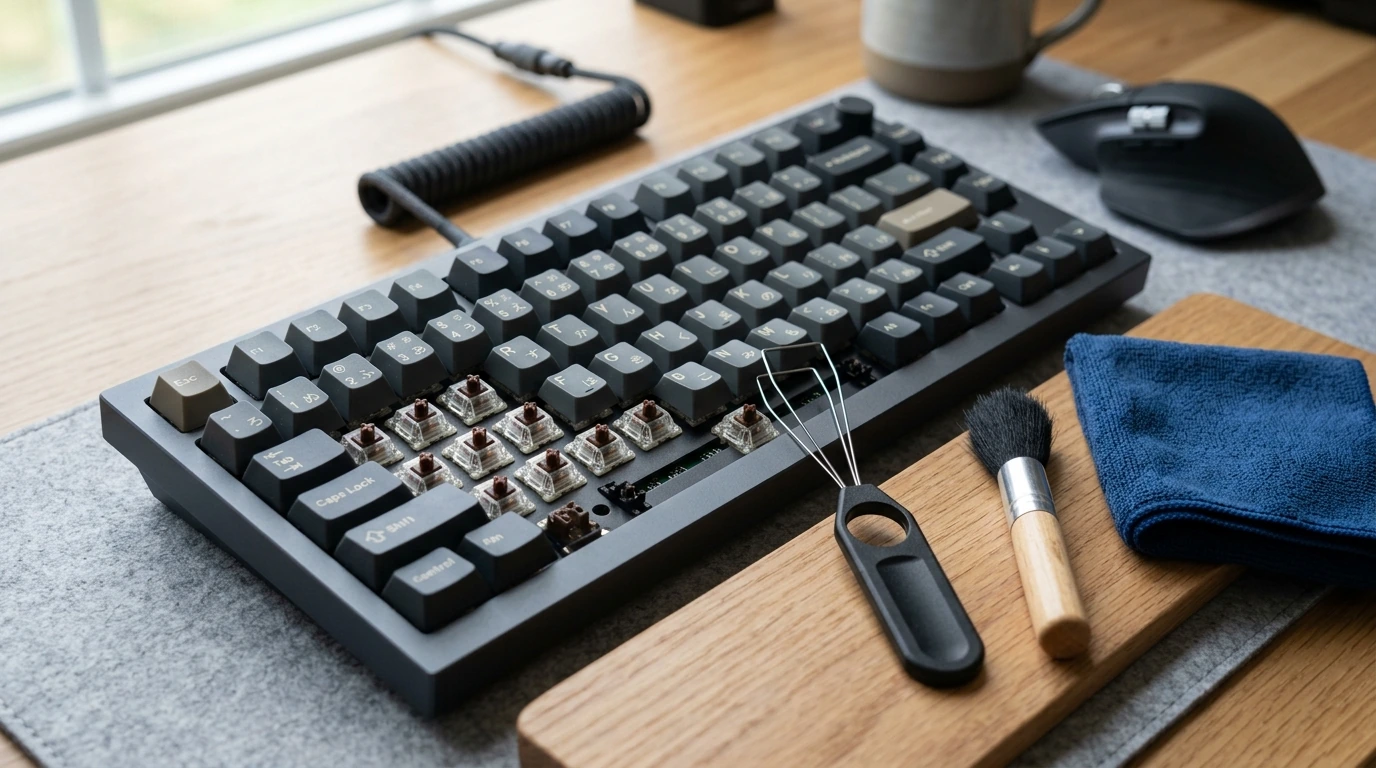
Step-by-Step Mechanical Cleaning Process
- Take a Reference Photo: Before removing anything, take a clear photo of your keyboard layout so you know exactly where each keycap goes during reassembly.
- Remove the Keycaps: Use a wire keycap puller. Avoid plastic ring pullers, as they can scratch the sides of your keycaps. Push the wire puller down over the keycap until it hooks under the bottom edges, then pull straight up with steady pressure.
- Soak the Keycaps: Fill a bowl with warm water and add a few drops of mild dish soap. Submerge the keycaps and let them soak for 20 to 30 minutes. Use a soft-bristled toothbrush to scrub away stubborn grime from individual caps.
- Clean the Keyboard Plate: While the keycaps are soaking, use a small, soft brush (like a clean makeup brush or paint brush) to sweep away hair, dust, and crumbs from the exposed keyboard plate. Use compressed air to blow out stubborn debris.
- Sanitize the Plate: Lightly moisten a microfiber cloth with isopropyl alcohol and wipe down the plate between the switches. Do not let liquid pool around the switches.
- Dry Thoroughly: Rinse the keycaps in clean water and lay them stem-side down on a towel. Let them air dry completely for at least 12 to 24 hours. Any moisture trapped inside the stem can ruin a switch when reinstalled.
- Reassemble: Use your reference photo to push the keycaps back onto their respective switches.
Scenario 2: The Sweet Tea Spill Rescue
If you spill a sugary drink on a mechanical keyboard, unplug it immediately. Remove all keycaps in the affected area. If your keyboard is hot-swappable, pull out the affected switches. If the switches are soldered, you can clean them by putting a few drops of 99% isopropyl alcohol directly inside the switch stem, pressing it repeatedly to flush out the sugar. Let it dry for a full 24 hours before plugging it back in.
Comparing the Methods
The table below outlines the key differences in maintenance requirements between laptop and mechanical keyboards.
| Aspect | Laptop Keyboards | Mechanical Keyboards |
|---|---|---|
| Key Removal | Not recommended (high risk of breakage) | Highly recommended (designed for removal) |
| Primary Cleaning Agent | 70% Isopropyl alcohol (applied to cloth) | Warm soapy water (for caps only) & Isopropyl alcohol |
| Risk of Damage | High (delicate clips, nearby internal components) | Low (if switches are kept dry) |
| Drying Time Required | 5–10 minutes | 12–24 hours (for soaked keycaps) |
Common Mistakes to Avoid
- Using Acetone or Nail Polish Remover: Never use acetone to clean plastic keycaps. Most keycaps are made of ABS or PBT plastic; acetone will chemically melt these plastics, permanently ruining your keyboard.
- Using Too Much Water: Water conducts electricity and corrodes metal connections. Excess water can easily seep into a laptop's motherboard or short out a mechanical keyboard's PCB.
- Applying Excess Heat to Dry Keycaps: Do not use a hair dryer on the hot setting or put keycaps in an oven to speed up drying. High heat will warp the plastic, making it impossible to fit them back onto the switches.
Frequently Asked Questions
Can I use hand sanitizer to clean my keyboard?
It is not recommended. Hand sanitizers contain moisturizers, fragrances, and gelling agents that leave a sticky residue behind, which can attract more dust and make the keys feel worse over time. Stick to pure isopropyl alcohol.
How do I dry keycaps quickly?
The safest way to speed up drying is to place the keycaps stem-side down on a dry towel in front of an electric fan set to cool or room temperature. Avoid using heat guns or hair dryers, which can warp the plastic stems.
Is it safe to put keycaps in the dishwasher?
No. The high temperatures and harsh detergents used in household dishwashers can warp the plastic, strip away printed legends, and ruin the structural integrity of the keycaps.
How often should I clean my keyboard?
A light surface wipe-down with a damp microfiber cloth should be done weekly. A deep clean (removing keycaps on a mechanical keyboard or using compressed air on a laptop) is recommended every 3 to 6 months depending on your environment and usage habits.
link : How to Clean Keyboard Keys on Laptops and Mechanical Keyboards


No comments:
Note: only a member of this blog may post a comment.