

Smudges, dust, and oily fingerprints can quickly turn a premium laptop display into an illegible, frustrating mess. However, grabbing the nearest tissue and a bottle of window cleaner is a recipe for permanent damage, often stripping away delicate anti-reflective coatings or leaving microscopic scratches. Taking a few minutes to learn the correct, manufacturer-approved cleaning protocol will protect your investment and keep your display looking brand new.
Key Takeaways
- Power Off First: Always shut down and unplug your laptop before cleaning to easily spot dirt and avoid electrical issues.
- Never Spray Directly: Liquid can easily seep into the screen bezel and destroy the display inverter or LCD matrix.
- Avoid Paper Products: Paper towels, tissues, and napkins contain wood fibers that cause micro-scratches.
- Use Distilled Water: Tap water contains minerals that leave streaks and can physically abrade the screen surface.
Matte vs. Glossy: Identify Your Screen Type First
Before selecting your cleaning tools, you must understand what kind of display panel you are working with. Laptop screens generally fall into two categories, each requiring a slightly different level of caution:
- Matte Screens: Common on business laptops and gaming rigs, these screens feature a textured anti-glare coating. Matte displays are highly sensitive to chemical solvents and physical pressure. Harsh scrubbing or improper chemicals can permanently buff out the matte texture, leaving shiny, uneven spots.
- Glossy Glass-Coated Screens: Frequently found on MacBooks, modern touchscreens, and premium OLED laptops. While the outer glass layer provides more structural rigidity than a matte screen, these displays feature delicate anti-reflective and oleophobic (oil-resistant) coatings that are easily stripped by harsh chemicals like ammonia or alcohol.
The Essential Laptop Cleaning Toolkit
You do not need expensive, specialized commercial kits to clean your laptop screen safely. In fact, the safest tools are incredibly simple and highly affordable.
- Microfiber Cloths: Keep at least two clean, high-quality microfiber cloths on hand. The split-fiber design of microfiber hooks onto dust and oils, lifting them away rather than pushing them around.
- Distilled Water: Tap water contains minerals like calcium and silica. When the water evaporates, these minerals remain behind, leaving white streaks and acting as tiny abrasives during your next wipe down.
- Isopropyl Alcohol (70%): Only use this if permitted by your laptop manufacturer (such as Apple) for stubborn grime. Never use higher concentrations (like 91% or 99%) as they can dissolve protective coatings.
- White Vinegar (Optional DIY): A 50/50 mix of distilled water and white vinegar is excellent for cutting through stubborn finger oils on non-matte screens.
Step-by-Step Guide to Scratch-Free Screen Cleaning
Follow this systematic process to clean your laptop display safely and effectively.
Step 1: Shut Down and Cool Off
Turn off your laptop completely and unplug the charging cable. A black, powered-down screen makes dust and smudges much easier to see. Additionally, cleaning a warm, active screen can cause liquid cleaners to evaporate too quickly, leaving stubborn streaks behind.
Step 2: Dry Dusting (The Most Important Step)
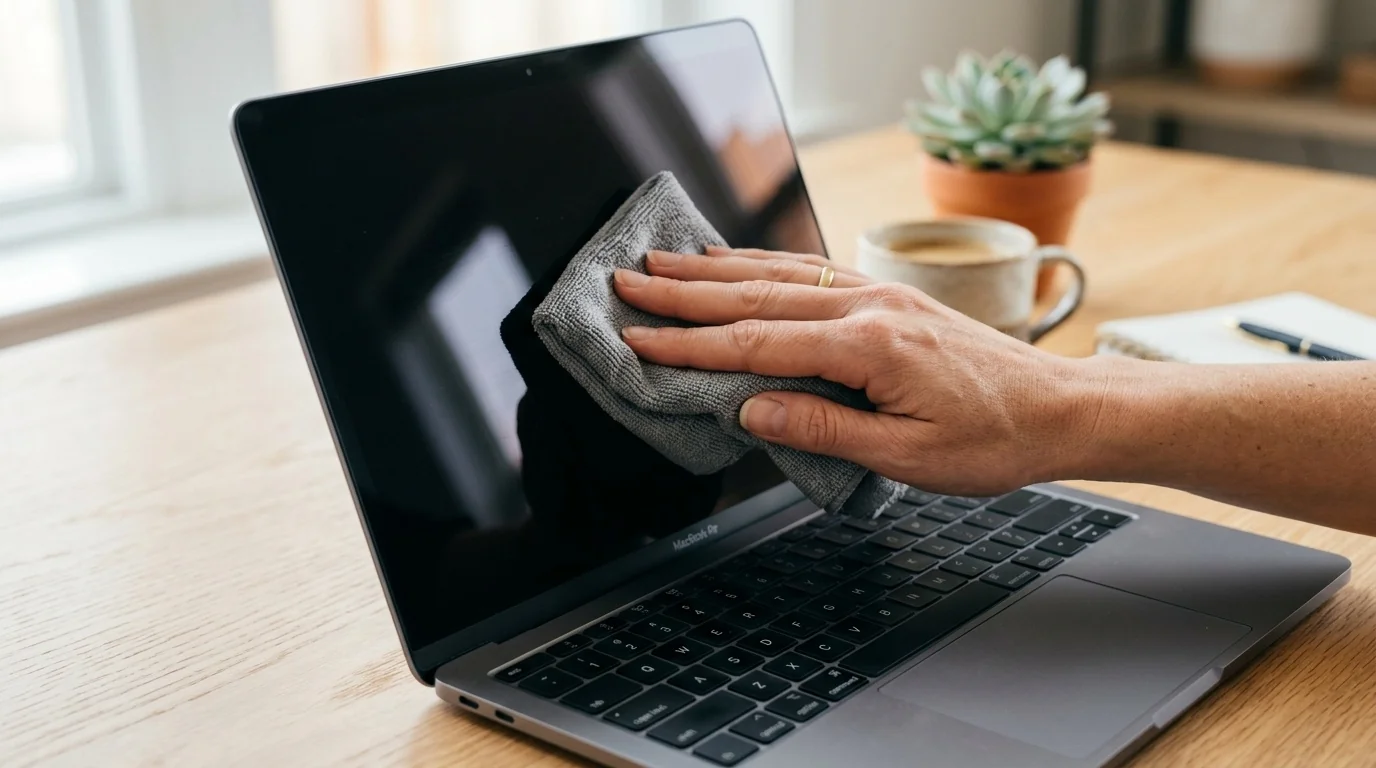
Gently wipe the screen with a dry, clean microfiber cloth. Do not apply pressure. Use broad, sweeping motions from one side of the screen to the other. This removes the loose dust layer. Skipping this step and moving straight to a wet wipe can turn abrasive dust particles into sandpaper, scratching the display.
Step 3: Dampen the Cloth
If smudges or oily fingerprints remain, lightly dampen your microfiber cloth with distilled water or your 50/50 water-vinegar solution. The cloth should feel slightly damp, never wet or dripping. Never spray any liquid directly onto the laptop screen.
Step 4: Wipe with Minimal Pressure
Using the damp portion of the microfiber cloth, wipe the screen in gentle, circular motions or consistent horizontal sweeps. Let the moisture do the work to break down the oils. Do not press hard on the screen, as excessive pressure can damage the liquid crystal layer underneath, resulting in dead pixels.
Step 5: Dry and Inspect
Immediately follow up with the dry microfiber cloth to buff away any remaining moisture. Inspect the screen from an angle under a light source to ensure no streaks or smudges remain.
Safe vs. Hazardous Cleaning Agents
Using the wrong chemical can ruin your laptop screen permanently. Refer to this table to understand what is safe to use on your display.
| Cleaning Agent | Safe for Matte Screens? | Safe for Glass Screens? | Risk Level |
|---|---|---|---|
| Distilled Water | Yes | Yes | Zero Risk |
| 50/50 Water & Vinegar | Yes (Use sparingly) | Yes | Low |
| 70% Isopropyl Alcohol | No | Yes (If approved by OEM) | Moderate |
| Glass Cleaner (Windex) | No | No | High (Strips coatings) |
| Acetone / Nail Polish Remover | No | No | Extreme (Melts plastics) |
Real-World Cleaning Scenarios
To put these rules into perspective, let us look at two common situations laptop owners face and how to handle them safely.
Scenario 1: The Daily Coffee Shop Commuter
You use your laptop in public spaces, meaning it accumulates pollen, light dust, and occasional fingerprints throughout the week. In this scenario, you do not need any liquids. Simply keep a clean microfiber cloth in your laptop sleeve. Every Friday evening, shut down the device and perform a quick dry-dusting. This simple routine prevents grime from baking onto the screen under the heat of daily use.
Scenario 2: The Sticky Splatter
You accidentally sneezed or splashed a drop of sugary drink onto your display, leaving a hard, dried-on residue. Do not scrub at the spot. Instead, dampen a small corner of your microfiber cloth with distilled water. Hold the damp cloth firmly but gently against the dried spot for 15 to 30 seconds. The moisture will naturally rehydrate and dissolve the sugars. Once softened, gently wipe the spot away in a single direction.
Common Mistakes to Avoid
- Using Circular Scrubbing on Tough Spots: Scrubbing in tight circles concentrated on one spot can warp the LCD layer or rub away local anti-glare coatings, leaving a permanent "cloudy" patch.
- Reusing Dirty Microfiber Cloths: Microfiber cloths trap oil and dust. If you do not wash them regularly, you are simply rubbing old oils and abrasive dust back onto your screen. Wash them with mild detergent and let them air dry (never use fabric softener, which leaves a waxy residue).
- Using Disinfecting Wipes: Standard household disinfecting wipes contain harsh chemicals and heavy fragrances that can permanently cloud plastic matte screens and strip oleophobic coatings.
Frequently Asked Questions
Can I use eyeglass cleaning wipes on my laptop screen?
Generally, no. Many eyeglass wipes contain high concentrations of isopropyl alcohol or other solvents designed specifically for glass lenses, which can damage the delicate plastic and anti-glare coatings of matte laptop screens. Stick to distilled water and a clean microfiber cloth.
Why are paper towels bad for screens if they feel soft?
While paper towels and facial tissues feel soft to your skin, they are made from wood pulp. At a microscopic level, these wood fibers are highly abrasive and will leave millions of tiny micro-scratches on delicate plastic screen surfaces over time, dulling the display.
How do I remove oily keyboard transfer marks from my screen?
When laptops are closed, the keyboard can transfer skin oils to the screen. To clean these, use a microfiber cloth lightly dampened with a 50/50 mix of distilled water and white vinegar. To prevent this from happening in the future, place a thin microfiber keyboard protector sheet over the keys before closing your laptop.
Can I use baby wipes to clean my laptop?
No. Baby wipes contain moisturizing oils, skin conditioners, and fragrances. Wiping your screen with them will leave a greasy, streaky residue that is incredibly difficult to remove and may damage display coatings.
